You don’t need to be a developer to launch your own cryptocurrency anymore. Thanks to tools like DeployTokens and networks like Linea, creating a token is something anyone can do—even if you’ve never written a single line of code. Whether you’re testing out a Web3 idea, launching a token for your startup, or just curious about how blockchain works, this guide has you covered. We’ll walk through four simple steps to get your token live on the Linea blockchain, plus a few insider tips to help it stand out once it’s launched.
We’ll walk you through four straightforward steps to launch and create token on Linea blockchain. Along the way, we’ll also share useful tips to help your token stand out in the competitive Web3 space.
Step-by-Step Guide: Create Token on Linea
Step 1: Visit DeployTokens and Connect Your Wallet
Step 2: Customize Your Token
Step 3: Preview and Create Token on Linea
Step 4: Promote Your Token
Step 1: Visit DeployTokens and Connect Your Wallet
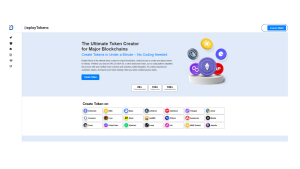
To get started, open your browser and go to DeployTokens. This platform is designed to make token creation quick and easy—no coding, no technical setup.
Once you’re on the site, the first thing you’ll need to do is connect your crypto wallet. If you’re using MetaMask (which is one of the most popular browser wallets), just click the “Connect Wallet” button in the top right corner. Your browser will prompt you to approve the connection, go ahead and accept.
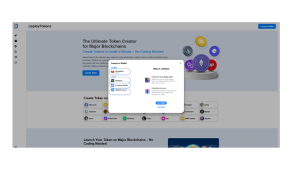
After connecting, you’ll be asked to select a blockchain network for your token. DeployTokens supports multiple blockchains like Sonic, Unichain, Core, and others. From the list, choose Linea, this is the network we’ll be using to deploy your token. Once you’ve selected Linea, you’re ready to move on to the next step: customizing your token. No code, no downloads, no complicated setup just a few clicks and you’re good to go.
Pro Tip: Ensure your wallet has a small amount of ETH for Linea gas fees. Since Linea is a Layer-2 network, these fees are typically just a few cents, making it far cheaper than Ethereum mainnet.
Step 2: Customize Your Token
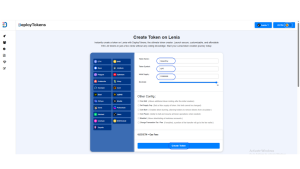
Now that you’re connected and have selected the Linea network, it’s time to bring your token to life by customizing its key details. This is the heart of the process when you create token on Linea as you choose the name, define how it behaves, and decide which features you want to include. Whether it’s for DeFi liquidity pool, gaming, or a community project, this step helps shape your token to match your vision.
Start by filling in the basic information:
-
Token Name: This is the full name of your token. It’s what people will see when they come across your project. For example, if you’re creating a token for a green finance initiative, you might call it GreenPay.
-
Symbol: Think of this like a stock ticker symbol. It’s a short, 3–5 letter abbreviation for your token, such as GPT for GreenPay Token. This symbol will appear in wallets, exchanges, and dashboards.
-
Total Supply: Decide how many tokens you want to create in total. For instance, you might choose 1,000,000 tokens if you want a fixed supply model.
-
Decimals: This determines how divisible your token is. “18” is the standard on Ethereum and Linea networks, meaning your token can be split into very small units (like 0.000000000000000001).
Once you’ve filled out the basics, you’ll see a list of optional features you can turn on. These are powerful tools designed to help you build a more secure, flexible, and future-ready token. Let’s break them down:
-
Can Mint: Allows you (or a designated address) to create more tokens in the future. Great for projects that plan to scale over time or introduce new incentives.
-
Can Burn: Lets you permanently remove tokens from circulation. This is useful for reducing supply and increasing scarcity often used in deflationary tokenomics.
-
Can Pause: Gives you the ability to freeze all token transfers in case of security threats or emergencies. It’s a strong safety measure, especially during early development or audits.
-
Set Supply Cap: Enforces a maximum limit on how many tokens can ever exist. Even if minting is enabled, this cap keeps supply inflation in check.
-
Blacklist: Lets you block certain wallet addresses from interacting with your token. This can help prevent abuse, spam, or malicious activity on your network.
-
Charge Transaction Tax/Fee: Adds a small fee on each token transfer. This fee can be used to fund your project, support a DAO, or reward your community. It’s a powerful tool for sustainable tokenomics.
Pro tip: Even though these features are optional, they can make a big difference in the long run. They’re especially useful if you’re planning to build an ecosystem (Read more about planning and designing your token for guidance), launch a DAO, or list on a DEX. They give you more control, flexibility, and security without writing any code.
Once you’ve set everything the way you want, you’re ready for the next step: deploying your token to the Linea blockchain.
Step 3: Preview and Create Token on Linea
You’ve entered your token details and chosen your features, and now it’s time to bring it all to life as you create token on Linea and prepare to launch it on-chain.
Before you hit deploy, take a moment to carefully review your configuration. This includes double-checking:
-
Token Name – Make sure it’s spelled correctly and reflects your brand or project.
-
Symbol – Confirm that your chosen abbreviation is accurate and unique.
-
Total Supply – Verify the number of tokens you’re minting, especially if you’re going for a fixed-supply model.
-
Decimals – Most tokens use 18, but it’s worth confirming.
-
Optional Features – Double-check if features like minting, burning, pausing, or transaction tax are enabled exactly the way you want.
Once everything looks good, you’re ready to deploy your token to the Linea blockchain.
To do that, you’ll need to pay a small deployment fee using your connected wallet. The great news is that Linea is a Layer 2 network—so gas fees are significantly cheaper compared to Ethereum mainnet. You can usually deploy your token for just a few cents.
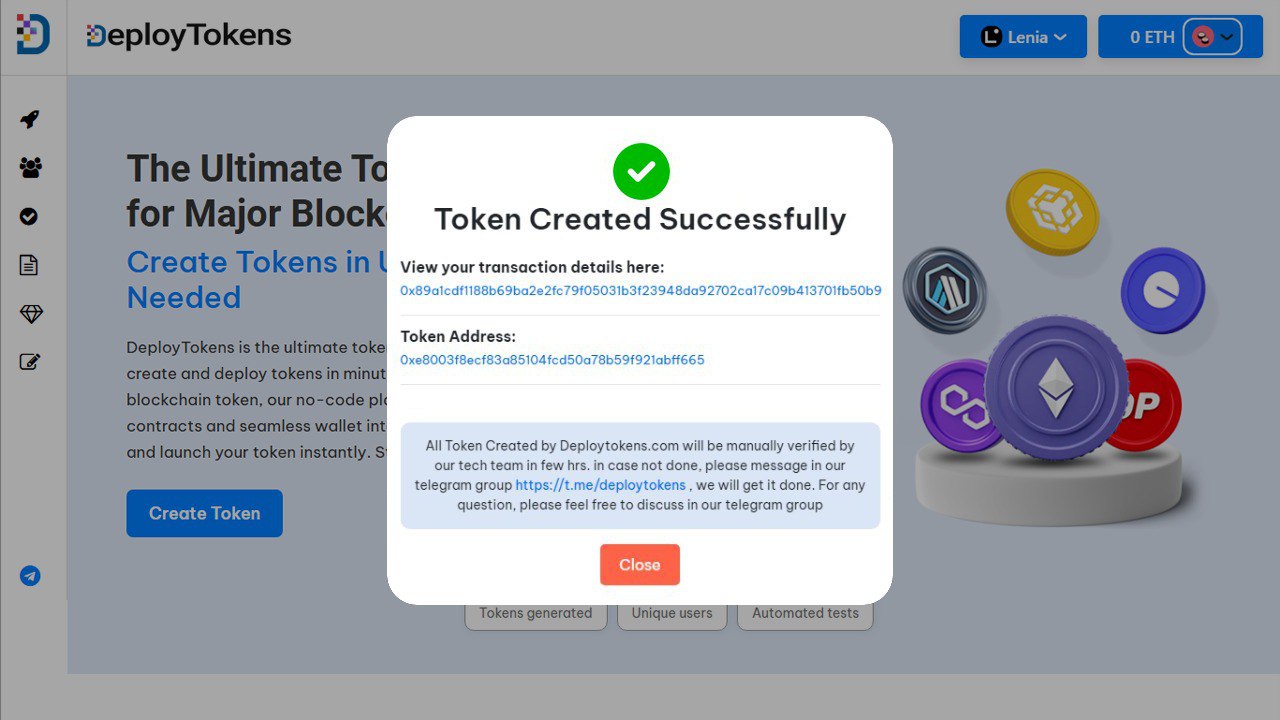
When you’re ready, click the “Deploy” button. DeployTokens will take care of everything behind the scenes by compiling the smart contract, pushing it to the Linea network, and verifying it automatically. There’s no need to manually verify the contract on a block explorer or worry about technical settings because your token will be live and verified instantly. Just like that, you’ve managed to create token on Linea that’s officially on-chain and ready to be used, shared, or traded.
Step 4: Promote Your Token
Congratulations! Your token is now live on the Linea blockchain. But launching is just the beginning. After you create token on Linea, the next crucial step is promotion. To build a successful project, you’ll need to spread the word, attract users, and grow a real community around your token.
Here are a few effective ways to get the word out:
-
Launch Airdrops: Airdrops are one of the best ways to grab attention. You can distribute a small amount of your token to early supporters, community members, or people who complete simple tasks (like following your social channels). This not only builds excitement but also puts your token into real wallets. Learn how to set one up with this ultimate guide to airdropping tokens.
-
Build a Community: Use platforms like Twitter (X), Telegram, and Discord to connect with your audience. These channels are essential for sharing updates, answering questions, and creating a loyal base of supporters. A strong, engaged community is one of the biggest assets for any token project.—check out these marketing strategies for growth.
-
List on DEXs and Market Trackers: While DeployTokens helps you launch the token, you can take the next step by listing it on decentralized exchanges (DEXs) and applying to get it tracked on platforms like CoinMarketCap, CoinGecko, and others. This increases visibility and adds credibility to your project. Follow this guide to get your token listed for maximum exposure.
-
Show Real Use Cases: Whether your token is meant for in-game purchases, staking rewards, community governance, or payment solutions make it clear. Projects with real, tangible use cases like those in DeFi or the metaverse tend to gain traction faster and attract long-term holders instead of short-term hype.
Remember, promotion is just as important as the token itself. A well-executed launch paired with thoughtful marketing and community-building can turn a simple token into a thriving ecosystem. Promotion is where your token transforms from a smart contract into a thriving project. Avoid common pitfalls by reading about the top 10 mistakes to avoid when launching a token.
Pro Tip: Use tools like DEXTools or Dexscreener to monitor your token’s performance and gain insights into trading activity.