Thinking about launching your own crypto token, but not sure where to start? Maybe the idea of coding smart contracts sounds too technical or those high Ethereum gas fees are holding you back. If that sounds familiar, you’re not alone. The good news? You don’t need to be a developer to bring your token idea to life. Thanks to Polygon, a fast, low-cost Ethereum Layer 2 solution, creating a token has never been more accessible. It works just like Ethereum because it’s fully EVM-compatible but transactions are quicker and way cheaper.
Whether you’re crafting a community token, a DeFi project, or just experimenting with Web3, Polygon makes it easy. Better yet, with DeployTokens, you can create a token on Polygon without writing a single line of code. This step-by-step guide walks you through the process, shares pro tips, and answers your FAQs everything you need to launch with confidence. Let’s get started.
How to Create a Token on Polygon (Without Coding)
Step 1: Set Up Your Wallet
First things first—you’ll need a Web3 wallet like MetaMask. If you haven’t already, download the extension for your browser or the mobile app. Follow the setup instructions and safely back up your recovery phrase. Finally, fund your wallet with a small amount of MATIC, Polygon’s native token. You’ll need it to pay for gas when deploying your token. (Don’t worry—fees are super low.)
Step 2: Connect to DeployTokens
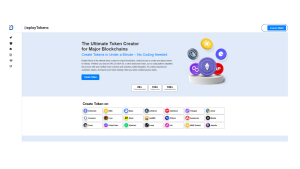
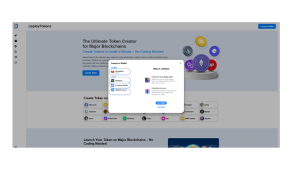
Now that your wallet is ready, head over to DeployTokens—a no-code platform that lets you create a token on Polygon in minutes. Click the “Connect Wallet” button on the top right. Choose MetaMask or any supported wallet (like WalletConnect or Coinbase Wallet). Your wallet will ask for permission, approve the connection and make sure you’re on the Polygon network (Matic Mainnet). If needed, you can add the network manually using the following:
-
RPC URL:
https://polygon-rpc.com -
Chain ID: 137
-
Currency Symbol: MATIC
Once connected, DeployTokens will recognize your wallet and network. From here, you can start customizing your token—no coding, no setup headaches.
Step 3: Customize Your Token
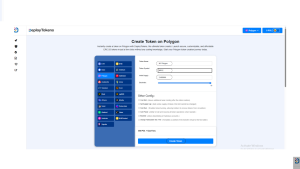
Here’s where the fun begins.
Fill in the basic details for your token:
-
Token Name (e.g., “MyPolygon Token”)
-
Symbol (e.g., “MPT”)
-
Total Supply (e.g., 1,000,000 tokens)
-
Decimals (usually 18, unless you have a specific reason to change it)
Tip: Choose a name and symbol that reflect your brand—it helps with recognition across wallets and DEXs.
Step 4: Enable Optional Features (Advanced Settings)
DeployTokens lets you enable powerful features depending on your use case:
-
Mintable – Add more tokens in the future
-
Burnable – Reduce total supply over time
-
Supply Cap – Lock in a maximum supply
-
Transaction Tax – Charge a % fee on transfers (useful for funding or redistribution)
-
Pause Transfers – Temporarily disable token transfers if needed
-
Blacklist – Block specific wallet addresses for compliance/security
These options give you flexibility and control, especially if you plan to scale your token over time.
Step 5: Review and Deploy
You’re almost there. On the summary screen, review all your token settings—name, symbol, supply, and any optional features like minting or burning. Make sure everything is accurate, as this is your last chance to make changes.
You’ll also see an estimated gas fee, which on Polygon is usually just a few cents—one of the reasons it’s such a great choice for affordable token launches.
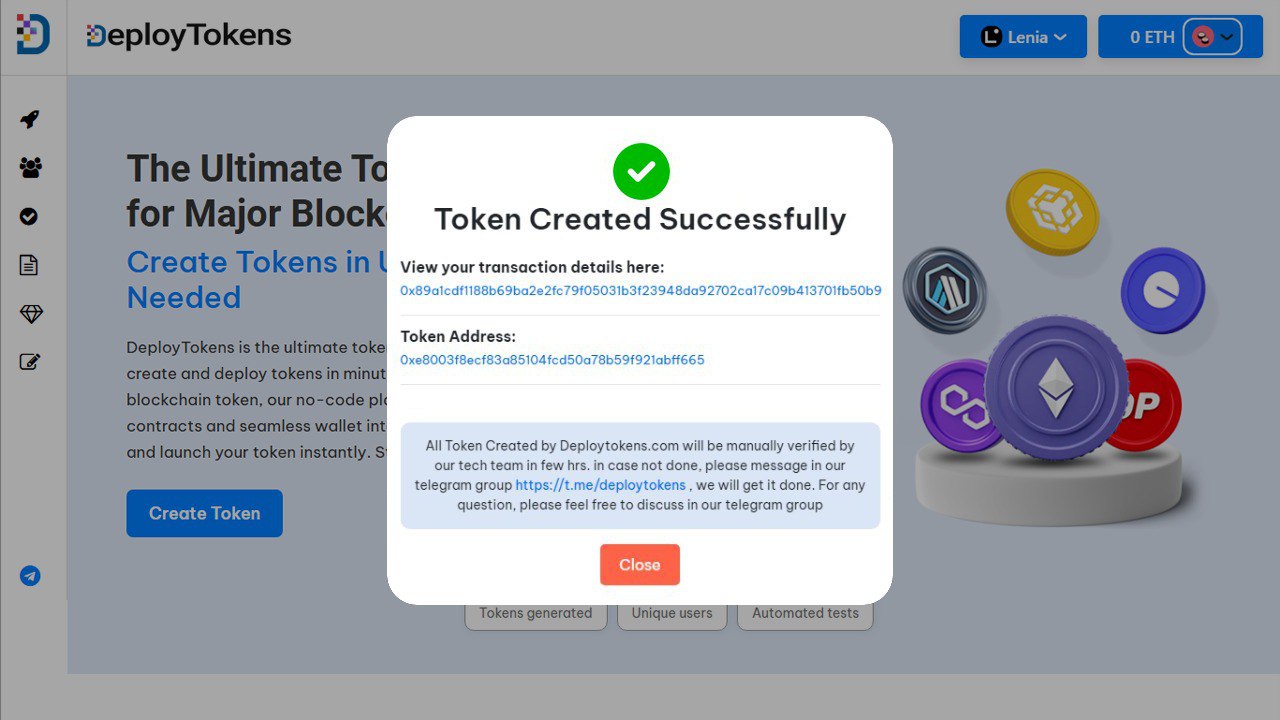
Once everything looks good, click “Create Token.” Your wallet will prompt you to approve the transaction. Confirm it, and your token will be deployed live on the Polygon network.
Even better, DeployTokens takes care of contract verification automatically. Your token will appear verified on Polygonscan without any manual steps, ready for use in wallets, DEXs, or community building.
After Deployment: What’s Next?
Now that your token is officially live on the Polygon blockchain, it’s time to take the next steps to bring it to life and grow its reach:
-
Get your token contract address
This is your token’s unique identity on the blockchain. You’ll use it to share your token with others, track transactions, and integrate it into platforms or dApps. -
View it on Polygonscan
Head over to Polygonscan and enter your contract address. You’ll see all the on-chain details, including transfers, holders, and verification status—great for transparency and trust. -
List it on a DEX (like QuickSwap)
If you want users to trade your token, listing it on a decentralized exchange gives it liquidity. Platforms like QuickSwap make it easy to add your token and pair it with MATIC or other assets. (How to List a Token on DEX). -
Start community-building
This is where things really get exciting. You can organize airdrops, host giveaways, or integrate your token into your existing product or ecosystem. Whether it’s for governance, rewards, or in-app utility, the goal is to give people a reason to use and hold your token.
Pro Tips: Avoid Common Mistakes
Launching a token is exciting, but skipping over important details can lead to irreversible issues. Here are a few smart tips to help you avoid the most common mistakes and ensure your token launch on Polygon goes smoothly:
-
Fund your wallet before deploying: Before you even begin the creation process, make sure your wallet has enough MATIC to cover gas fees. While Polygon is much cheaper than Ethereum, you’ll still need a small amount to process the transaction.
-
Plan minting and burning options in advance: If you think you might want to mint more tokens later or allow some of them to be burned to reduce supply, make sure to enable these features during setup. Once the token is deployed, you can’t go back and add these functionalities. (Top 10 Mistakes to Avoid).
-
Double-check your supply cap: Be extra careful when setting your token’s maximum supply. If you set the cap too low or too high without a solid reason, it could hurt your token’s credibility or utility—and it can’t be changed later.
-
Use the Polygon testnet first: Don’t rush straight to mainnet deployment. Use the Polygon Mumbai testnet to simulate the token creation process. It’s a great way to catch any mistakes, test out your settings, and get familiar with how things work without risking real funds.
FAQ: Creating a Token on Polygon
Do I need coding skills to create a token?
Nope! DeployTokens is 100% no-code.
How much MATIC do I need for gas?
Usually less than $0.10 worth.
Is my token automatically verified on Polygonscan?
Yes, DeployTokens takes care of that.
Can I change my token after deploying?
No—some settings like name/symbol are locked. Plan accordingly.
Is Polygon secure for creating tokens?
Yes, it inherits Ethereum’s security while offering better performance.
Conclusion
Polygon makes token creation fast, affordable, and incredibly beginner-friendly—and when combined with the no-code power of DeployTokens, launching your own crypto token has never been easier. Whether you’re starting a DAO, building a rewards system for your community, or testing out a new DeFi or Web3 project, Polygon offers the perfect environment. With ultra-low gas fees, blazing-fast transactions, and full compatibility with Ethereum tools, it eliminates the usual technical and financial barriers that come with launching a token.
The best part? You don’t need to write a single line of code. DeployTokens.com walks you through the entire process—step by step—so you can go from idea to live token in just a few minutes. So, what are you waiting for? If you’re ready to create your token on Polygon, head over to DeployTokens and launch yours today.