Blockchain used to feel like a gated world, especially when it came to creating ERC20 token. If you weren’t a developer fluent in Solidity or couldn’t navigate smart contract deployment, you were left on the sidelines. But that’s changing fast. Welcome to the era of no-code blockchain tools. Launching your own token no longer requires writing a single line of code. Whether you’re a startup founder testing a new Web3 product, a creator building community value, or a DAO experimenting with governance, this guide is for you. Let’s explore how the barriers are falling and how anyone, yes, anyone, can now create ERC20 token in minutes.
Step-by-Step: Launch Your ERC20 Token in Minutes
Step 1: Prepare Your Wallet
Step 2: Connect to DeployToken
Step 3: Select Ethereum
Step 4: Customize Your Token
Step 5: Create ERC20 Token in just 1 Minute
Step 1: Prepare Your Wallet
To create your token, you’ll need a crypto wallet. MetaMask is the most commonly used and easy to set up.
Start by downloading MetaMask from metamask.io. Create a wallet and securely store your secret recovery phrase this is the only way to recover your account if needed. Next, fund your wallet with a small amount of crypto (like ETH or MATIC) depending on the blockchain you plan to use. This will cover the gas fees when deploying your token. You can transfer funds from exchanges like Coinbase or Binance.
Once your wallet is funded and ready, you’re set to move on to the next step.
Step 2: Connect to DeployTokens

Now that your wallet is ready, it’s time to connect it to DeployTokens. This will allow you to start deploying your token.
How to Connect Your Wallet Securely
-
Visit DeployTokens: Head over to DeployTokens in your browser. On the homepage, you’ll find the “Connect Wallet” button.
-
Choose MetaMask: After clicking “Connect Wallet,” a list of wallet options will appear. Select MetaMask (or another supported wallet like WalletConnect).
- Approve the Connection: MetaMask will pop up with a request to confirm the connection. Simply click “Connect” to authorize DeployTokens to access your wallet securely.
Step 3: Select Ethereum & ERC20 Standard
In this step, you’ll choose Ethereum as the blockchain and ERC20 as the token standard. Ethereum is widely trusted, with a robust ecosystem and secure network, making it ideal for most token projects. The ERC20 standard defines rules that ensure your token is compatible with Ethereum’s infrastructure, including wallets, exchanges, and dApps.
By selecting Ethereum and ERC20, you’re ensuring that your token will work seamlessly within the Ethereum ecosystem, benefiting from its security and widespread adoption.
Step 4: Customize Your Token
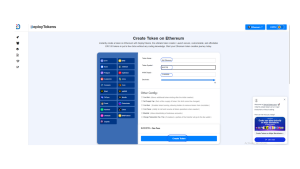
In this step, you’ll define your token’s essential details and optional features:
-
Token Name: The name of your token, such as “MyAwesomeToken.”
-
Token Symbol: The shorthand symbol (e.g., “MAT” or “GCT”) that represents your token.
-
Total Supply: Set the maximum number of tokens that will ever exist.
-
Decimals: Defines how divisible your token will be (usually 18 decimals, like ETH).
Optional Features:
-
Minting: This allows you to create additional tokens after deployment. Useful for projects that may need to increase the supply in the future.
-
Burning: The ability to destroy tokens, reducing the total supply. This is often used to increase scarcity or manage inflation.
-
Supply Cap: Set a hard limit on the total number of tokens that can ever be created. This prevents overinflation and ensures token scarcity.
-
Pause: If activated, this feature allows you to temporarily halt token transfers. This can be useful in case of emergencies or planned upgrades.
-
Blacklist: Option to prevent specific wallet addresses from sending or receiving your token.
-
Transaction Tax: This feature enables a fee to be charged on each transaction, which could go to a specific address or be used for other purposes like rewards or staking.
These features offer additional control and flexibility, helping you tailor your token to your specific needs. Once you’re satisfied with your customizations, you’re ready to move to the next step—deploying your token.
Step 5: Create ERC20 Token and Verify
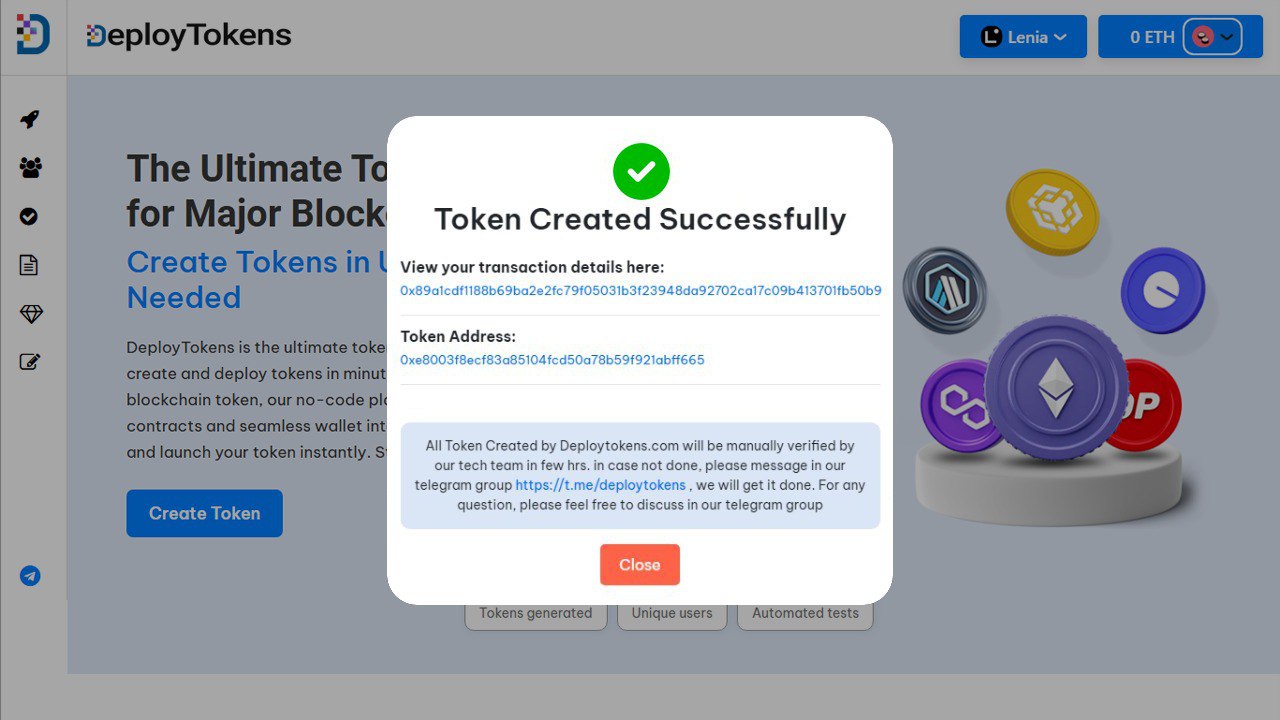
Once you’ve customized your token’s specs, it’s time to deploy it to the blockchain.
DeployTokens makes the deployment process incredibly easy. Once you’re satisfied with your token’s details, simply click the “Create Token” button. The platform will handle the technical aspects for you, and in just a few minutes, your token will be live on the blockchain.
Automatic Smart Contract Verification
After deployment, DeployTokens automatically verifies your token’s smart contract on Etherscan (or the relevant blockchain explorer). This verification makes your token’s smart contract public and transparent, allowing anyone to view its code and confirm that it functions as intended.
Verification helps build trust with your community and provides a higher level of transparency, which is crucial for blockchain projects. Once verified, your token is ready for interaction with wallets, exchanges, and other decentralized applications.
What Makes ERC20 Tokens So Powerful?
ERC20 tokens are the standard for creating tokens on the Ethereum blockchain, ensuring compatibility with Ethereum’s ecosystem, including decentralized apps, wallets, and exchanges. When you create ERC20 token, you ensure it works seamlessly within Ethereum’s trusted and secure network.
- Why ERC20 Became the Industry Standard: ERC20 became popular because it provided a simple, standardized way to create tokens on Ethereum. This standardization allowed for widespread adoption and growth across industries, making token creation efficient and reliable for developers and projects.
- The Role of ERC20 in DeFi, NFTs, DAOs, and Startups: ERC20 tokens are central to DeFi, enabling trading, lending, and staking on decentralized platforms. They also play a key role in NFTs, often used for payments or rewards. In DAOs, ERC20 tokens are used for governance, allowing token holders to vote on proposals. For startups, ERC20 tokens are a cost-effective way to raise funds through ICOs and token sales.
By choosing to create ERC20 token, you gain access to Ethereum’s vast ecosystem, ensuring your token is integrated and recognized across the blockchain space.
Common Mistakes to Avoid When Launching a Token
- Over-Minting and Unclear Tokenomics: Over-minting can dilute your token’s value. Ensure you have a clear tokenomics strategy with a defined supply limit, fair distribution, and mechanisms like burning or staking to maintain value.
- Ignoring Gas Fees and Wallet Security: Gas fees can fluctuate, impacting the user experience, so account for them. Also, prioritize wallet security to protect against hacks, using hardware wallets and two-factor authentication.
- Skipping Community Engagement Post-Launch: Don’t neglect your community after launch. Continuous engagement and communication are key to maintaining interest and driving adoption.
Frequently Asked Questions (FAQs)
What is an ERC20 token and why is it important?
An ERC20 token is a standard for creating tokens on the Ethereum blockchain. It ensures compatibility with decentralized apps (dApps) and exchanges, making it the industry standard.
How can I create ERC20 token without coding?
You can create ERC20 token without coding using platforms like DeployTokens. Simply customize your token’s details and deploy it on Ethereum with no technical knowledge.
How long does it take to create ERC20 token using DeployTokens?
Creating an ERC20 token on DeployTokens takes just minutes, thanks to the easy, step-by-step no-code process.
Do I need to be a developer to create ERC20 token?
No, you don’t need to be a developer. DeployTokens offers a no-code interface to create and deploy your token quickly.
What can I customize when creating an ERC20 token?
You can customize the token’s name, symbol, supply, decimals, and optional features like minting, burning, supply caps, and pausing.
How do I ensure my ERC20 token contract is secure?
DeployTokens automatically verifies your token’s smart contract on Ethereum explorers like Etherscan, ensuring transparency and security.