In the early days of crypto, launching your own token on Ethereum was a task reserved for developers those fluent in Solidity, smart contract deployment, and the intricacies of blockchain architecture. You needed a tech team, a GitHub repo, and hours of debugging just to see your token live. Creating your own ERC-20 token on Ethereum is harder in the early days.
But today? Things have changed. Imagine this: You’re a creator with a bold idea. Maybe you’re building a DeFi protocol. Maybe you’re launching a loyalty token for your community. Or maybe you’re just curious—wondering what it would be like to launch your own cryptocurrency from scratch. Now imagine doing it all without writing a single line of code.
In this guide, we’ll show you exactly how to make that vision real. Step by step, you’ll learn how to create a ERC20 token on Ethereum the easy way—using DeployTokens. Whether you’re launching a serious project or testing the waters, this is the fastest, simplest path to get your token on-chain.
Step-by-Step: Create ERC-20 Token on Ethereum (No Coding Needed)
Gone are the days when token creation was reserved for Solidity experts and blockchain devs. With DeployTokens.com, the process is faster, easier, and completely code-free. Here’s how to go from idea to token launch in just a few steps:
Step 1: Connect Your Wallet
Step 2: Go to DeployTokens
Step 3: Verify and Manage Your Token
Step 4: Launch & Promote Your Token
Step 1: Set Up and Connect Your Wallet

To build a token on Ethereum, you’ll need a Web3 wallet. MetaMask is the easiest and most popular option.
How to Get Started:
-
Install MetaMask
Download the browser extension from metamask.io or get the mobile app. Make a wallet and securely save your recovery phrase. -
Connect to DeployTokens
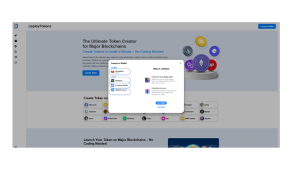
Visit DeployTokens and click “Connect Wallet” in the top right. Select MetaMask and approve the connection.
-
Switch to Ethereum Mainnet
In MetaMask, make sure you’re connected to the Ethereum Mainnet. -
Fund Your Wallet
Add some ETH to cover gas fees. You can buy ETH through MetaMask or transfer from exchanges like Coinbase or Binance.
Step 2: Visit DeployTokens to Launch Your Own Token
Once your wallet is connected to DeployTokens, you’re ready to define the structure of your ERC20 token. This process is entirely no-code and only takes a few minutes to complete.
1. Select the Ethereum Network
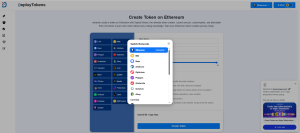
Begin by ensuring your wallet is set to the Ethereum Mainnet. This is the primary blockchain where real ETH is used and real transactions occur.
If you’re currently connected to another network (like a testnet), DeployTokens will automatically prompt you to switch. You’ll need a small amount of ETH in your wallet to cover the gas fees associated with deploying the smart contract.
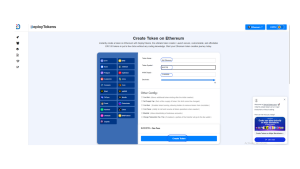
2. Enter Your Token Details
Now it’s time to define the core attributes of your token. These are the foundational elements users will see when interacting with your token:
-
Token Name – This is the full name of your token (e.g., “MyToken”). It appears in wallets and on blockchain explorers.
-
Token Symbol – A short identifier or ticker symbol (e.g., “MYT”), typically 3-5 characters long.
-
Total Supply – The total number of tokens you want to create. For example, entering “1,000,000” will mint one million tokens.
-
Decimals – Determines how divisible your token is. Most Ethereum-based tokens use 18 decimals, meaning 1 token equals 10^18 smallest units.
These details will become part of the smart contract and cannot be changed after deployment—so double-check before continuing. These are locked into the smart contract, so review carefully—see How to Plan and Design Your Token for tips.
3. Enable Optional Features
DeployTokens offers powerful add-ons to enhance your token’s functionality. These options allow you to simulate real-world utility and prepare for more complex use cases:
-
Can Mint – This option allows you (or a designated address) to generate additional tokens after the initial supply is build. Useful for inflationary models or future development incentives.
-
Can Burn – Enables token holders to destroy their tokens voluntarily. This is often used in deflationary tokenomics to reduce total supply and potentially increase scarcity.
-
Can Pause – Provides administrative control to temporarily disable all token transfers. This can be valuable in case of an exploit, bug, or emergency.
-
Blacklist – Lets you block specific wallet addresses from interacting with the token. Ideal for protecting against known malicious actors or enforcing compliance rules.
-
Transaction Tax – Adds the ability to deduct a percentage from each transfer and route it to a fee wallet. Commonly used in tokens that support treasury funding or redistribution rewards.
-
Set Supply Cap – Allows you to enforce a maximum limit on the token’s total supply. Once set, this cap cannot be changed, adding long-term trust and stability to your tokenomics.
These features are optional but offer flexibility for different project needs—from experimental tokens to full-fledged decentralized applications. These options prepare your token for DeFi or other use cases.
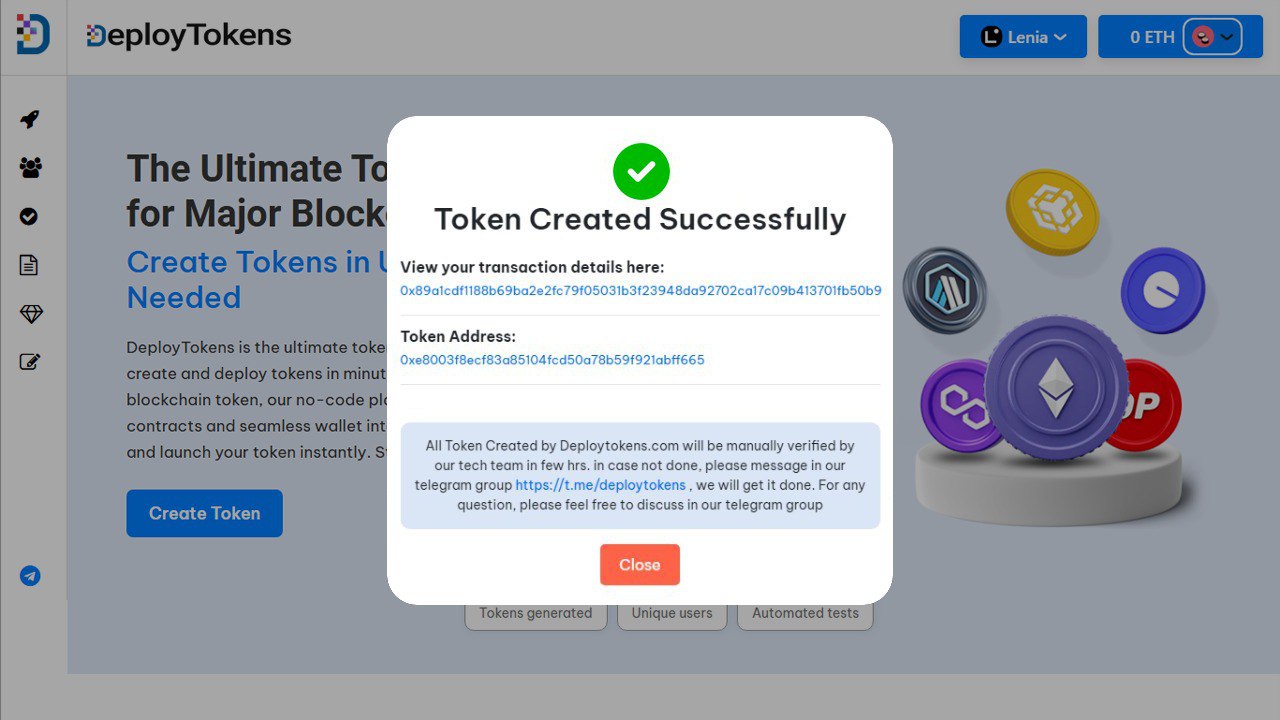
Step 3: Verify and Manage Your Token
Once your token is deployed on Ethereum, DeployTokens automatically verifies your smart contract. This means you don’t need to go through the manual verification process on Etherscan—it’s all handled for you behind the scenes.
With your token live and verified, you can now:
-
View Your Token on Etherscan
Access your token’s contract and transaction history by visiting Etherscan.io and entering your contract address. You’ll see all on-chain data, including holders, supply, and token interactions. -
Import the Token into MetaMask
Copy the contract address from Etherscan and import it into your MetaMask wallet. This allows you to view and manage your token directly from your wallet interface. -
Test Advanced Features
If you enabled functions like minting, burning, or pausing, you can now interact with them. Use your wallet or blockchain explorer tools to test these capabilities and simulate different real-world scenarios.
At this point, your ERC20 token is fully deployed, verified, and operational—ready for use in applications, smart contracts, or to share with your community.
Need a deeper understanding of how smart contracts work? Explore our in-depth [Smart Contracts FAQ] to learn more about permissions, interactions, and security best practices.
Step 4: Launch and Promote Your Token
Congratulations! you’ve successfully launched your ERC20 token on Ethereum. But deploying your token is just the first step. The next phase is all about building utility, trust, and a thriving community around your project.
Here’s what you should focus on next:
-
Define Your Tokenomics: Establish the fundamentals, how your token will be used, distributed, and sustained over time. Consider elements like total supply strategy, incentives for holders, and long-term value creation. See Tokenomics.
-
Test Liquidity and Trading Behavior: Use platforms like Uniswap’s testnet to simulate liquidity pools, price discovery, and trading scenarios. This helps you understand how your token might perform in real-world DeFi environments. Learn more in DeFi Liquidity Pools.
-
Build a Landing Page or Website: A simple, informative site adds credibility and serves as a central hub for potential users and investors. Highlight your mission, roadmap, and how the token fits into your broader vision.
-
Start Building a Community: Share your token on platforms like Twitter, Telegram, Discord, Reddit, and specialized Web3 forums. Early adopters often emerge from tight-knit communities, so engage consistently and authentically—check Token Marketing Strategy.
Final Thoughts : Start Building with ERC20 Today
Creating an ERC20 token on Ethereum was once a task limited to experienced blockchain developers. It required deep knowledge of Solidity, rigorous testing, and time-consuming manual verification. But with DeployTokens, that barrier is gone.
Now, you can launch a fully functional, verifiable ERC20 token in just a few clicks no coding, no dev team, no delays. Whether you’re building the foundation of a DeFi protocol, launching a DAO token, experimenting with gamified assets, or just testing a startup idea, DeployTokens gives you the tools to make it happen—faster than ever.
Your token comes with optional features like minting, burning, pausing, blacklisting, and transaction tax logic ideal for customizing behavior and aligning with your project’s tokenomics. And best of all, every token deployed on Ethereum through DeployTokens is auto-verified, ready for real-world utility and integrations.
Ready to build?
👉 Create your ERC20 token on Ethereum now