If you’re building a blockchain project and want to test your token before deploying to Binance Smart Chain (BSC) mainnet, the BNB Testnet is the perfect place to start. It lets you simulate real transactions, experiment with tokenomics, and fine-tune your smart contracts without using real BNB or risking funds.
And the best part? You don’t need to be a developer. With no-code platforms like DeployTokens, you can create a token on the BNB Testnet in minutes, with zero coding required. It’s a simple, effective way for creators, startups, and builders to validate ideas before going live.
Why Use the BNB Testnet for Token Creation?
The BNB Testnet is the perfect place to experiment before going live. It lets you test your token without risking real funds, using free test BNB (Binance Smart Chain) from faucets. Whether you’re building a DeFi app, game, or just learning how smart contracts work, it offers a safe, cost-free environment to refine your token and fix issues early.
In this guide, you’ll learn why the BNB Testnet matters in 2025, how to launch your BEP-20 token step by step, and how to test it confidently using a no-code tool. Let’s get started.
Step-by-Step Guide: How to Create a Token on BNB Testnet
Creating your own BEP-20 token used to mean hours of writing and testing smart contracts. Not anymore. With DeployTokens.com, you can launch a fully functional token on the BNB Testnet in just a few clicks—no programming experience required. Here’s how:
Step 1: Visit DeployTokens
Step 2: Connect Your Wallet
Step 3: Select BNB Testnet
Step 4: Design Your Token
Step 5: Create Token on BNB Testnet or Binance Smart Chain Testnet
Step 1: Visit DeployTokens
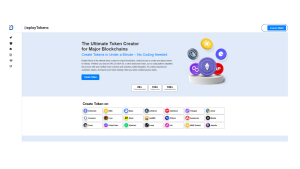
Start by heading over to DeployTokens. This no-code platform is purpose-built to help creators, builders, and crypto enthusiasts launch tokens instantly across multiple EVM-compatible chains including BNB Testnet.
The interface is clean, intuitive, and designed so that even non-developers can navigate with ease. You don’t need any developer tools or complicated setup just a browser and a crypto wallet.
Step 2: Connect Your Wallet
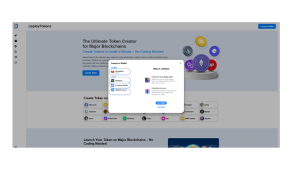
Once you’ve landed on the DeployTokens homepage, the next step is to connect your Web3 wallet. Click the “Connect Wallet” button located at the top-right corner of the page.
DeployTokens supports widely-used wallets like MetaMask and WalletConnect, making it easy for most users to get started. When prompted, choose MetaMask (recommended for simplicity), and follow the pop-up instructions to approve the connection.
Make sure your wallet is unlocked and ready to interact with the site. Connecting your wallet allows DeployTokens to:
-
Confirm which blockchain network you’re on (you’ll be switching to the Binance Smart Chain Testnet soon)
-
Initiate and approve token deployment transactions
-
Automatically populate your token into your wallet for testing
Once connected, you’re now ready to start building your token—no setup, no downloads, just blockchain interaction made simple.
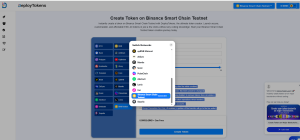
Step 3: Select the BNB Testnet
Next, you need to make sure your wallet is connected to the Binance Smart Chain Testnet (also known as BSC Testnet). If you haven’t added the network yet, no worries DeployTokens can automatically suggest adding it to your wallet. For more details on network setup, check out this guide.
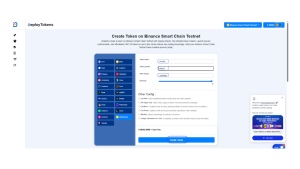
Step 4: Design Your Token
Now comes the fun part—customizing your token.
DeployTokens will prompt you to fill in key information:
-
Token Name: This is your token’s full name (e.g., “CryptoKicks Token”)
-
Token Symbol: A short ticker symbol (e.g., “KICK”)
-
Total Supply: The number of tokens you want to mint initially (e.g., 1,000,000)
-
Decimals: Most tokens use 18 decimals for compatibility with wallets and DApps.
You’ll also see powerful optional features that simulate real-world token behavior. With just a click, you can enable:
-
Can Mint: Add more tokens even after deployment – ideal for utility tokens.
-
Set Supply Cap: Put a hard limit on total supply
-
Can Burn: Allow tokens to be destroyed, often used in deflationary models
-
Can Pause: Temporarily pause all transfers, useful for emergencies or maintenance.
-
Blacklist: Block specific wallet addresses from interacting with your token
-
Charge Transaction Tax / Fee: Collect a fee on each transfer to a designated wallet useful for governance, liquidity, or charity purposes
Step 5: Create Your Token on Binance Smart Chain Testnet
Once all your token parameters are set and you’ve reviewed everything—click “Create Token.”
Your MetaMask will prompt you to approve a transaction. Confirm it, and DeployTokens will handle the rest behind the scenes:
-
It compiles the smart contract
-
Deploys it to the BNB Testnet
-
And automatically verifies the contract on testnet.bscscan.com, making it visible and interactable for you and others
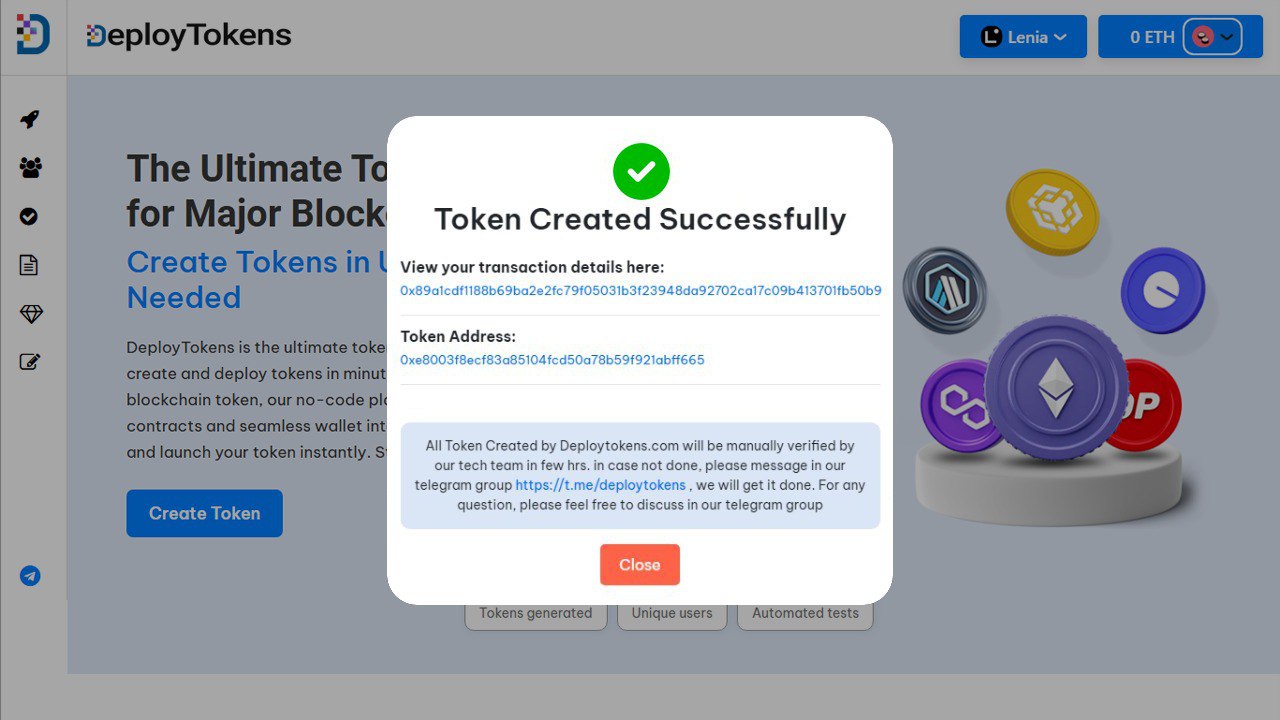
What does that mean for you? Your smart contract is now visible and transparent on the network, which allows others to interact with it, audit it, or test it alongside you.
After deployment, you can immediately view your token’s smart contract on BscScan Testnet, where you’ll see all the details including its address, total supply, and any enabled features like minting, burning, or transaction tax.
Want to test it out or use it in your wallet? Just copy the contract address and import it into MetaMask. Once added, your token will appear in your wallet with the correct name, symbol, and balance, letting you send or receive it like any standard asset. At this point, your token is ready to share. Whether you’re collaborating with a team, running a test airdrop, or gathering feedback from early users, you now have a real, functioning asset to showcase.