Launching your own cryptocurrency on the BNB Smart Chain has become remarkably straightforward, opening up exciting possibilities for beginners and enthusiasts alike. This innovative platform takes the complexity out of creating a BEP20 token on BNB, so you don’t need to be a coding expert or have advanced technical knowledge to dive in. Designed with simplicity in mind, it empowers anyone to create a token on BNB with ease, streamlining the process and enhancing productivity across the blockchain community. Whether you’re looking to explore the crypto space for personal projects or business ventures, this tool makes token creation approachable and efficient. In this comprehensive guide, we’ll walk you through each step to make your very own token on the BNB Smart Chain, providing clear, actionable insights to help you succeed in the ever-evolving world of cryptocurrency.
Step-by-Step Guide to Create BEP20 Token on BNB
Thinking about launching your own BEP20 token on the BNB Smart Chain? Whether you’re building a Web3 project, creating a community token, or just experimenting, this guide walks you through the full process clearly, simply, and without writing a single line of code. Let’s dive into the four essential steps.
- Visit DeployTokens and Connect Your Wallet
- Select BNB as a Blockchain Network
- Fill Your Token’s Details
- Deploy Your Token
- Congratulation! Your Token in live now.
Step 1: Visit DeployTokens and Connect Your Wallet
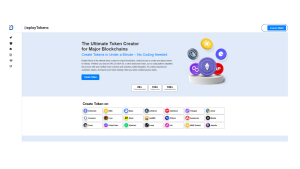
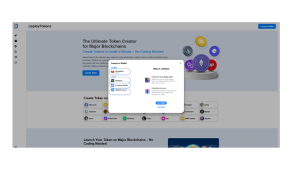
Step 2: Select BNB Smart Chain as Your Blockchain
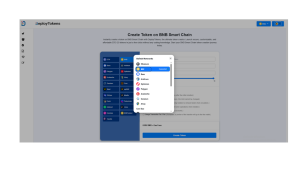
After connecting your wallet, you’ll see a list of supported blockchains. Select BNB Smart Chain and this ensures your token will follow the BEP-20 standard, which is widely used across DeFi projects, DApps, and exchanges in the Binance ecosystem.
DeployTokens handles the backend smart contract generation and deployment for you, so you don’t need to touch a single line of Solidity code. With using this tool, it auto-verifies your token contract on BscScan, which improves transparency and trust with your users.
Step 3: Fill In Your Token Details
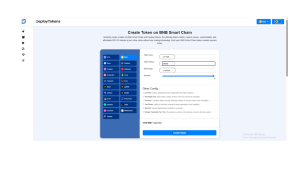
Now it’s time to define your token. Think of this step as setting the DNA for your new cryptocurrency. The form will guide you through the basics:
-
Token Name: This is the full name (e.g., EcoCoin or PlayToken)
-
Token Symbol: A short symbol like ECO or PLY
-
Total Supply: How many tokens will be created? (e.g., 5,000,000)
-
Decimals: This defines the smallest unit. 18 is the default and works for most use cases.
Optional Advanced Features:
If you’re building a token with a specific function, you can enable extra options like:
- Burnable: Let users or the owner destroy tokens to reduce total supply.
- Mintable: Add more tokens later if your project needs it.
- Transfer Pause: Temporarily stop token transfers for security or updates.
- Blacklist: Block specific wallets from interacting with your token.
- Transaction Fee: Add a small fee on transfers (e.g., 1%) to fund your project.
- Supply Cap: Set a maximum limit on your token supply.
- Ownership Control: Keep or renounce ownership for full decentralization.
These advanced features are especially helpful for projects with governance tokens, staking mechanisms, or vesting schedules.
Once everything looks good, double-check your details — especially the total supply and token name. Once you deploy, these settings are permanent on-chain.
Step 4: Deploy Your Token to the BNB Smart Chain
You’re now ready to launch your token. Once you’ve filled in all your details and reviewed your configuration, simply click the “Create Token“ button. At this point, your connected wallet like MetaMask will prompt you to confirm the transaction. You’ll also see an estimated gas fee, displayed in BNB, so you know exactly what the deployment will cost.
After you approve the transaction in your wallet, DeployTokens takes care of the rest. The platform automatically generates your custom BEP-20 smart contract and deploys it directly to the BNB Smart Chain. Within seconds, your token is live on-chain, complete with its own contract address and transaction record verifiable on BscScan.
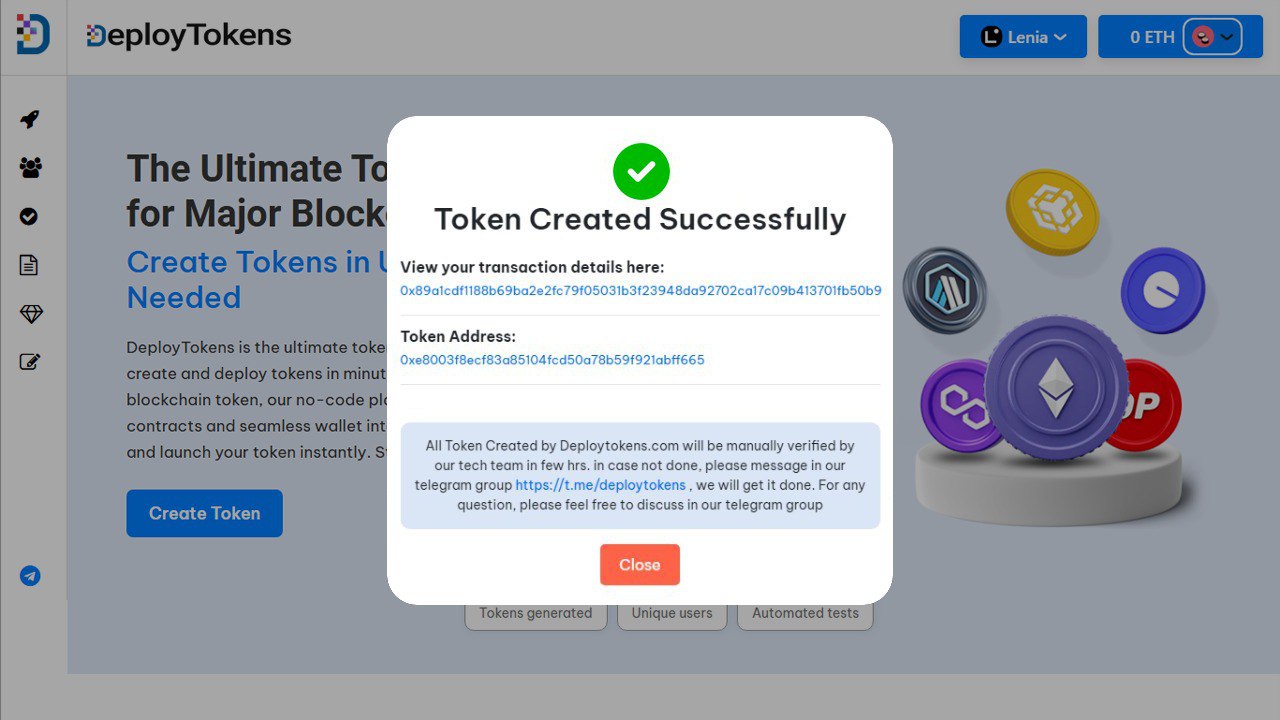
Within moments, you’ll receive:
-
A transaction hash (proof of the contract creation)
-
Your token’s contract address (used to verify and interact with the token)
-
A link to view it live on BscScan
Congratulations! You’re Officially a Token Creator. Your BEP-20 token is now live on the BNB Smart Chain! Whether you’re planning a larger crypto project or just learning the ropes, you’ve successfully created a real, usable token all without needing to code.
Tips for Success After Token Creation
1. List It on a DEX like PancakeSwap: To make your token tradable, list it on a decentralized exchange. PancakeSwap is the go-to option on BNB Chain. You’ll need to create a liquidity pool by pairing your token with BNB. This gives your token a market price and makes it accessible to other users. Need help? Check out our guide on How to List a Token on a DEX.
2. Promote It and Build Community: Visibility matters. Start spreading the word on Twitter (X), Telegram, Discord, or even Reddit. Share your token’s purpose, roadmap, and contract address. You can also consider launching an airdrop, writing a whitepaper, or setting up a landing page to attract early supporters. For more ideas, take a look at our Marketing Your Token guide.
3. Focus on Security and Transparency: Trust is everything in Web3. Get your smart contract audited to ensure it’s secure and bug-free. Consider publishing the source code to GitHub and verifying it on BscScan—these steps go a long way in building credibility with your community and potential investors.
Launching your token is just the start. With the right strategy, community support, and security practices, you can turn it into something truly impactful.
Conclusion: You are a Token Creator Now!
You did it—you’ve officially created your own BEP-20 token on the BNB Smart Chain. With just a Web3 wallet, a bit of BNB for gas, and a no-code tool like DeployTokens, you’ve stepped into the world of blockchain creation. But this is just the beginning. Whether your goal is to experiment, launch a community token, or build a full-scale Web3 project, you now have the foundation in place. The tools are simpler, the barriers are lower, and the opportunities are growing fast.
So what’s next? You can list your token on a DEX like PancakeSwap, share it with your community, or even expand it into a larger ecosystem. Need help with your next steps? Check out DeployTokens on YouTube for practical tutorials, or explore other guides like Ethereum vs. Binance Smart Chain to compare networks and strategies.Now go build something awesome.