Creating a token on Avalanche has become a powerful way for individuals and organizations to explore blockchain-based innovation. But it’s not just about deploying a smart contract, it’s about understanding why, how, and when a token makes sense for your goals.
In this guide, we’ll break down everything you need to know to create Avalanche token, including the technology behind it, the benefits and trade-offs, and the easiest methods to get started, even if you have no coding experience.
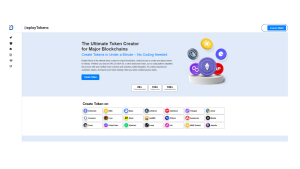
How to Create Avalanche Token Without Coding
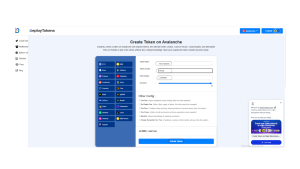
So you’ve got an idea for a token but you’re not a developer, and smart contracts feel like a foreign language? Good news: creating a token on Avalanche no longer requires you to write a single line of code or understand complex blockchain programming. Thanks to modern no-code platforms like DeployTokens.com, you can launch your own ERC-20 token on Avalanche’s C-Chain within minutes. It’s fast, affordable, and fully automated. Let’s walk through the process step-by-step so you know exactly what to expect.
Step 1: Visit DeployTokens & Connect Wallet
Step 2: Select Avalanche
Step 3: Customize Your Token
Step 4: Create Avalanche Token
Step 1: Connect Your Web3 Wallet
Before anything else, you’ll need a Web3 wallet—a tool that lets you interact with decentralized applications and sign blockchain transactions. The most popular options include:
-
MetaMask
-
Coinbase Wallet
-
WalletConnect-compatible wallets
- Rainbow
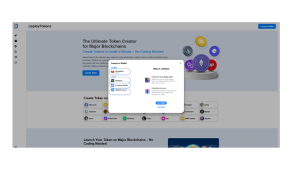
Once you’re on DeployTokens, you’ll be prompted to connect your wallet. Just click “Connect Wallet,” select your preferred option, and authorize the connection.
Step 2: Select Avalanche as Your Deployment Network
After connecting your wallet, it’s time to choose the blockchain where your token will live.
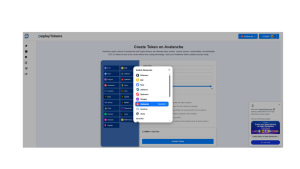
Step 3: Customize Your Token Parameters
Here’s where your creativity and project planning come into play. You’ll now input the key characteristics of your token:
-
Token Name: The full name of your token, like “My Avalanche.”
-
Token Symbol: The short ticker, e.g., “MAC.”
-
Total Supply: Decide how many tokens you want to create. This can range from hundreds to billions, depending on your use case.
-
Decimals: This defines how divisible your token is. For example, 18 decimals (standard) means your token can be divided down to 0.000000000000000001.
But that’s not all.
Most no-code platforms (like DeployTokens) also give you optional advanced settings to fine-tune your token:
Mintable – Allows future token creation, ideal for ongoing rewards or distribution (airdrops).
Burnable – Lets you or users permanently destroy tokens to reduce supply.
Pausable – Enables you to temporarily stop all transfers for security or maintenance.
Ownable – Assigns contract ownership for upgrades or permission management.
Access Control – Set role-based permissions like minter, burner, or admin for team-managed tokens.
Custom Metadata – Add token details like website or logo for better integration and visibility.
Anti-Bot Features (Advanced) – Basic protections for early trading or launch events
Take your time here. These settings define how your token behaves and how much control you retain after deployment. These choices impact your token’s functionality and tokenomics. Need help planning? See our guide to designing your token.
Step 4: Confirm the Transaction and Deploy
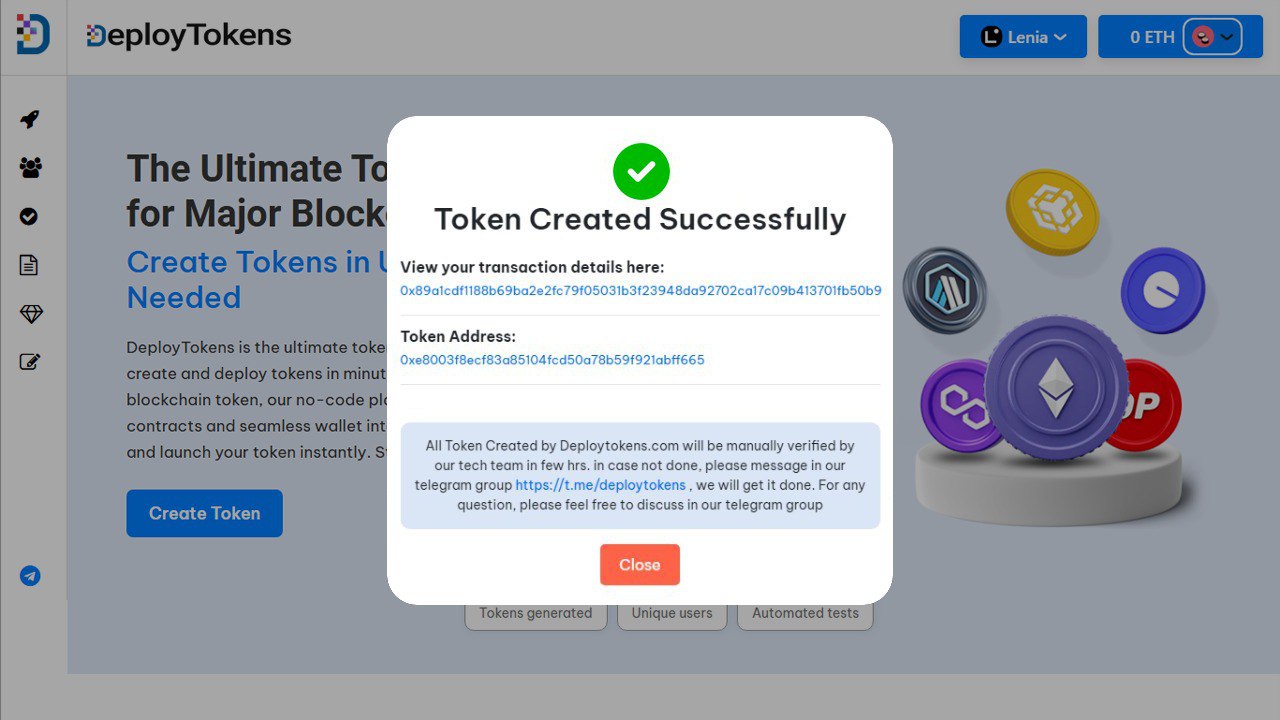
After finalizing your token details, click “Create Token”
Your connected Web3 wallet (such as MetaMask or WalletConnect) will prompt you to confirm the transaction. You’ll also see an estimate of the gas fees required in AVAX.
Once you confirm the transaction, DeployTokens takes care of the rest. The platform automatically handles the smart contract deployment, and within a few moments, your token will be:
-
Live on the Avalanche C-Chain
-
Auto-verified and viewable on SnowTrace.io
-
Ready for transfers, DApps, and exchange listings
Now that your token is live, you can:
-
Transfer it to other wallets
-
Airdrop tokens to community members or early supporters
-
List it on Avalanche DEXs like Trader Joe. see how to list a token on a DEX.
-
Integrate it into DeFi protocols, GameFi platforms, or NFT marketplaces.
With no coding required and everything handled through a seamless interface, your Avalanche token is now ready to power your next blockchain project. That’s it! In under 1 minutes, you’ve created Avalanche token without writing a single line of code. Want to explore manual deployment instead? Check out Token Generator vs. Manual Smart Contracts.
Why Create Avalanche Token?
Avalanche has rapidly positioned itself as one of the most developer-friendly and cost-effective platforms for creating tokens. Designed with speed, scalability, and usability in mind, Avalanche’s C-Chain is fully compatible with the Ethereum Virtual Machine (EVM) which means developers can use existing Ethereum tools like Solidity and Web3.js without needing to learn a new language or framework.
But Avalanche isn’t just another EVM-compatible chain—it’s actively solving some of the blockchain industry’s biggest pain points:
-
Lightning-Fast Transactions: Avalanche can finalize transactions in under a second, ensuring smooth and near-instant confirmation times.
-
Low Gas Fees: Compared to Ethereum, the cost to deploy and interact with smart contracts on Avalanche is dramatically lower, making it ideal for startups and creators on a budget.
-
High Scalability: With the ability to handle thousands of transactions per second, Avalanche avoids the congestion and slowdowns seen on many other networks.
-
Ethereum-Compatible Developer Tools: Because it runs the EVM, developers can use familiar tools, libraries, and frameworks making the transition to Avalanche seamless.
Whether you’re building a governance token for a DAO, launching a digital asset for a game, or experimenting with DeFi mechanics, Avalanche offers a fast, affordable, and robust environment to bring your ideas to life. Create Avalanche Token has not only one benefits but many if you incorporate with it.