Imagine wanting to launch your own crypto token in 2019—you’d need a Solidity developer, days of testing, and hundreds in gas fees. Fast-forward to 2025, and that process has been completely transformed. Thanks to Layer 2 solutions like opBNB, that give you ease to create an opbnb token not only faster and cheaper, but also accessible to anyone and no coding required.
opBNB, built on the BNB Chain ecosystem, is designed for speed and affordability. It’s perfect for launching community tokens, testing DeFi concepts, or building out blockchain games. And with modern no-code tools like DeployTokens, you can now bring your token idea to life in under a minute without writing a single line of code.
In this guide, you’ll learn how to create an opBNB token using a simple visual interface. Whether you’re a founder validating a concept or a creator launching an experimental project, this walkthrough will show you how to go from idea to live token in just a few clicks.
Quick-Start Guide: How to Create an opBNB Token in Minutes
In the past, launching your own token meant hiring developers, writing smart contracts, and spending days on audits and deployment. Today, platforms like DeployTokens make it possible to create an opBNB token without touching a single line of code and the entire process takes just a few minutes.
Step 1: Visit DeployTokens and Select opBNB
Step 2: Configure Your Token Details
Step 3: Add Super Power Features
Step 4: Confirm Your Token Details
Step 5: Deploy & Create an opBNB Token
Step 1: Connect to DeployTokens and Select opBNB
Start by heading over to DeployTokens.com, a no-code platform built for easy token creation. Once you’re on the homepage:
- Click “Connect Wallet” and choose MetaMask or any EVM-compatible wallet.
- After connecting, select opBNB from the list of supported blockchains.
Choosing opBNB means your token will be deployed on BNB Chain’s Layer 2 — known for low gas fees, high throughput, and full EVM compatibility. This makes it ideal for DeFi, gaming, and community tokens.
Step 2: Configure Your Token Details
Now it’s time to define your token’s basic parameters. These are the core properties that determine how your token appears and behaves across the blockchain ecosystem:
- Token Name – This is the full name of your token, like BNBVerse or GreenPay.
- Symbol – The shorthand version, like BNBV or GRNP.
- Total Supply – How many tokens you want to issue initially (e.g., 1,000,000).
- Decimals – Typically set to 18, this defines how divisible your token is.
These values are permanent once deployed, so double-check them before continuing.
Step 3: Add Optional Token Features

Next, you can enable optional features based on your project’s needs. These smart contract settings give your token more utility, flexibility, and control:
- Minting – Enable this if you want the ability to issue more tokens in the future. Useful for projects that plan to grow or distribute rewards over time.
- Burning – Allows tokens to be permanently destroyed, reducing supply. Often used in deflationary models or loyalty programs.
- Pausing – This feature lets you halt token transfers in case of emergency, giving you control during unexpected events or exploits.
- Supply Cap – Define a hard cap on how many tokens can ever exist. This ensures that even if minting is enabled, no one can exceed the total limit.
- Blacklist – Restrict specific addresses from interacting with your token contract, useful for managing fraud or regulatory compliance.
- Transaction Fees – Implement a fee on each token transfer, which can be redirected to a treasury or burned automatically.
These settings can dramatically affect how your token behaves post-launch, so consider your project’s long-term goals when choosing them.
Step 4: Preview and Confirm Your Token Setup
Before launching, the platform gives you a full summary of your inputs. Review your:
- Token name, symbol, and supply
- Decimal setting
- Optional features you’ve enabled
Make sure your wallet has a small amount of BNB to cover the network fee. On opBNB, fees are extremely low compared to mainnet Ethereum, making it cost-efficient to launch test or production tokens. Once you’ve confirmed everything looks correct, click Preview. This is your final checkpoint before going live.
Step 5: Deploy & Create an opBNB Token
Now comes the exciting part – launching your token. When you click Create Token, DeployTokens automatically:
- Generates a custom ERC-20 smart contract based on your configuration.
- Deploys the contract directly to the opBNB blockchain.
- Verifies the smart contract publicly for transparency and trust.
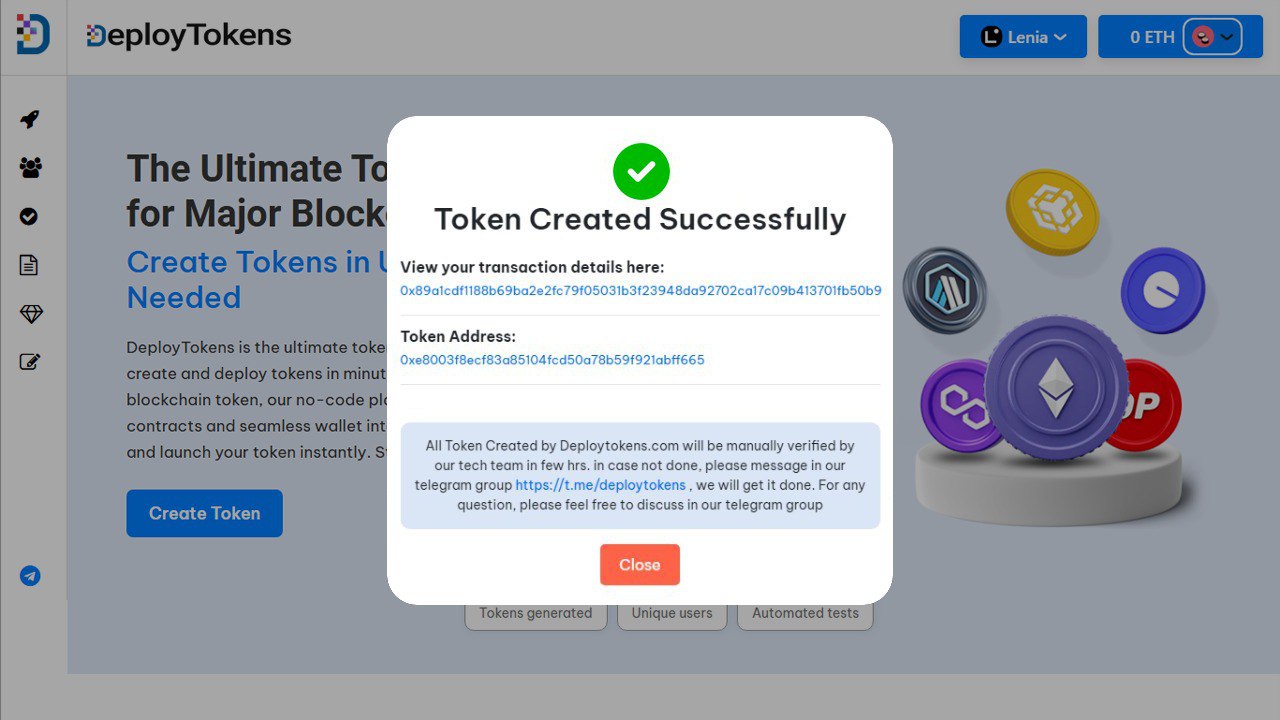
This all happens in under a minute. Congratulations! You just create an opbnb token on your own self.
Once the deployment process is complete, the platform will provide you with the smart contract address for your newly created token. This address acts as your token’s unique on-chain identifier. You can use it to manually add the token to wallets like MetaMask, allowing you and your users to view balances and interact with the token directly. It also lets you track your token’s status and transactions via opBNB’s blockchain explorer.
FAQ: Token Creation on opBNB
Can I create an opBNB token without coding?
Yes. With no-code tools like DeployTokens, you can create and deploy an ERC-20 token on opBNB in minutes—no coding or technical knowledge needed.
What wallet do I need?
You’ll need an EVM-compatible wallet like MetaMask to connect to DeployTokens and sign the transaction during token creation.
Is opBNB compatible with Ethereum tools?
Yes. opBNB is EVM-compatible, meaning it supports Ethereum standards and works with Ethereum-based wallets, dApps, and developer tools.
How much does it cost to launch a token on opBNB?
Launching a token on opBNB is very affordable. Thanks to opBNB’s low gas fees, most users only need a small amount of BNB to cover deployment costs.
Can I edit my token after deployment?
Some features—like minting, pausing, or burning—can be managed after launch if enabled during setup. However, core properties such as name, symbol, and total supply are fixed once deployed.
Where can I view or verify my deployed token?
Once deployed, your token will be automatically verified and viewable on the opBNB block explorer. You’ll also receive a contract address to add your token to wallets like MetaMask and share with others.