If you’re planning to create token on Arbitrum, you’re in the right place. Arbitrum is one of the most trusted Ethereum Layer 2 scaling solutions, designed to offer faster transactions and much lower gas fees without sacrificing the security and compatibility of the Ethereum network. Whether you’re dreaming up a meme coin, a utility token, or a cornerstone for a Web3 project, Arbitrum offers a powerful, cost-efficient platform to scale your vision. Best of all?
As a fully EVM-compatible blockchain, Arbitrum allows you to deploy smart contracts and tokens just like on Ethereum, but with better performance and cost-efficiency. Whether you’re launching a meme coin, a utility token, or building out a larger Web3 ecosystem, Arbitrum gives you a solid foundation to scale.
And here’s the best part, you don’t need to be a developer. With no-code platforms like DeployTokens, you can create your own token on Arbitrum without writing a single line of code. In this step-by-step guide, I’ll walk you through everything you need to know to get started quickly and easily.
5 Steps to Create Token on Arbitrum
Step 1: Visit DeployTokens
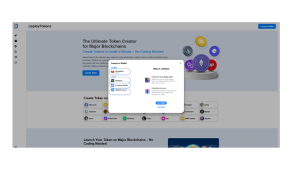
Step 2: Connect Wallet
Step 3: Customize Your Token
Step 4: Enable Optional Feature
Step 5: Create Token on Arbitrum
Step 1: Connect to DeployTokens
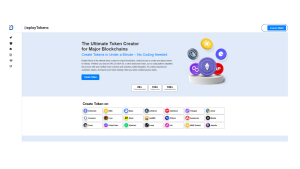
Now it’s time to launch your token using a no-code platform. Go to DeployTokens.com and click “Connect Wallet.” Choose MetaMask (or any supported wallet), and select Arbitrum as your deployment network. DeployTokens supports multiple chains like Base and Polygon, so make sure you’ve selected Arbitrum before proceeding. This ensures your token gets deployed on Arbitrum’s Layer 2 blockchain—taking full advantage of its speed and affordability.
Step 2: Set Up Your Wallet
To create token on Arbitrum, you’ll first need a Web3 wallet like MetaMask. If you don’t have one yet, head over to MetaMask.io and install the browser extension or mobile app. Follow the setup instructions, and make sure you securely back up your recovery phrase—this is essential for wallet recovery. With your wallet ready and connected to Arbitrum, you’re good to go. New to wallets? Check out Launch a Token with Zero Coding Experience.
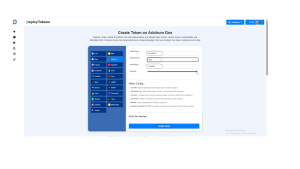
Step 3: Customize Your Token
Once you’ve selected Arbitrum, you’ll be prompted to fill in your token’s key details:
-
Token Name (e.g., ArbiLaunch)
-
Symbol (e.g., ARBL)
-
Total Supply (e.g., 1,000,000 tokens)
-
Decimals (typically 18 for ERC-20 compatibility.)
These values define your token’s identity, so choose carefully especially if you’re planning to market or scale the project later on. These choices shape your token’s foundation—plan them with purpose (How to Plan and Design Your Token)
Step 4: Enable Optional Features
Want more control over how your token works? DeployTokens lets you enable advanced features without any coding:
-
Minting: Add more tokens later if your project needs to grow.
-
Burning: Reduce supply by destroying tokens—great for managing scarcity.
-
Pause Transfers: Temporarily stop all transfers if needed (e.g., during upgrades).
-
Blacklist: Restrict specific wallets from interacting with your token.
-
Transaction Fees: Set a tax on every transfer to fund development or rewards (DeFi Liquidity Pools).
-
Supply Cap: Lock in a max token supply to build long-term trust.
Choose the features that best support your use case.
Step 5: Review and Deploy
Once you’ve filled in all your token details and selected any optional features like minting or transaction fees, it’s time to review everything. Double-check your token name, symbol, supply, and settings this is your last chance to make changes before it goes live. You’ll also see an estimate of the gas fees required to deploy your token.
If everything looks correct, go ahead and click “Create Token.” Your connected wallet (like MetaMask) will prompt you to approve the transaction. Once you confirm it, DeployTokens will automatically handle the deployment.
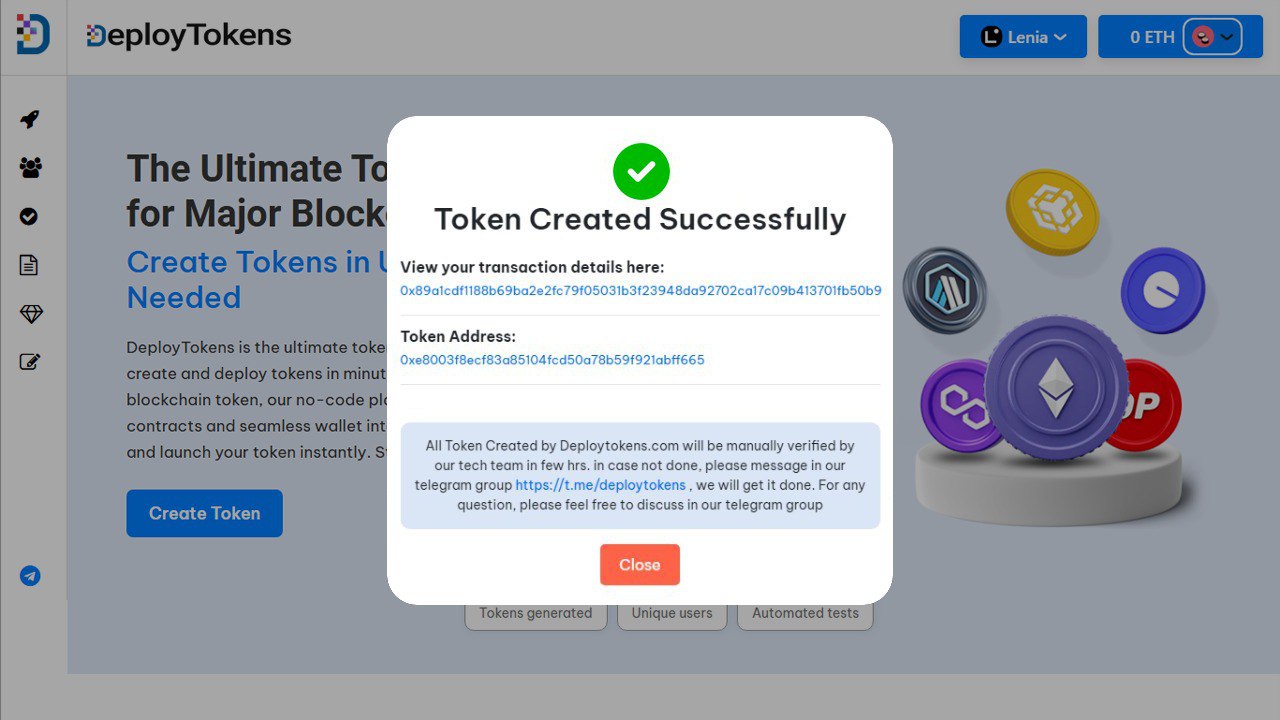
Within moments, your token will be live on the Arbitrum blockchain. The best part? DeployTokens auto-verifies the smart contract, so there’s no need to manually verify it or submit it to Arbiscan. Your token is ready to use, share, and grow—no coding or extra steps required. Your token is now part of Arbitrum’s ecosystem! Ready to list it? See How to List a Token on a DEX.
Best Practices for Token Creation on Arbitrum
Before you launch, it’s worth taking a few extra steps to ensure your token is well-prepared and polished:
-
Choose a Strong Name & Symbol: Pick something short, recognizable, and aligned with your project’s purpose—whether it’s a utility token, community coin, or something else.
-
Plan Your Supply Wisely: Decide if you’ll allow minting later for flexibility, or set a fixed supply cap to create scarcity and build trust with holders.
-
Add a Logo & Description: These small details improve how your token looks in wallets and apps, making it easier for users to recognize and engage with it.
-
Test on Arbitrum Goerli First: Run a full simulation using the testnet to avoid errors and get comfortable before deploying on mainnet with real ETH. Use Arbitrum Goerli testnet to practice (Create Token on Sepolia for a similar testnet guide).
Frequently Asked Questions (FAQ)
Do I need to know Solidity to create a token on Arbitrum?
No, platforms like DeployTokens.com handle everything—no coding required.
How much ETH do I need for gas fees on Arbitrum?
Usually just a few cents worth of ETH—Arbitrum’s gas fees are very low compared to Ethereum mainnet.
Can I mint more tokens later?
Yes, if you enable the minting option during creation, you can add more tokens when needed.
Is my token auto-verified on Arbitrum?
Yes. DeployTokens.com auto-verifies your token smart contract, saving you time and effort.
Can I edit my token after deployment?
Core details like name or symbol cannot be changed. However, functions like minting, pausing, or tax settings can be used if enabled.
Is Arbitrum secure for launching tokens?
Yes. Arbitrum is a battle-tested Layer 2 secured by Ethereum’s consensus. It’s one of the most trusted L2 networks in the ecosystem. (Security Token vs. Utility Token).
Final Thoughts
Creating a token on Arbitrum has never been easier especially with no-code platforms like DeployTokens. Whether you’re launching a community-driven project, testing a new idea, or building the foundation for a larger ecosystem, Arbitrum gives you the tools to do it quickly, affordably, and securely.
Thanks to its low gas fees, Ethereum compatibility, and growing user base, Arbitrum is becoming a top choice for Web3 creators who want performance without complexity. And with just a few simple steps like setting up your wallet, customizing your token, enabling optional features, and deploying, you can bring your token to life in minutes.
If you’re ready to start building on one of the fastest-growing Layer 2 networks, now’s the perfect time.
Start creating your token on Arbitrum today with DeployTokens.