If you’ve ever dreamed of launching your own cryptocurrency but assumed it required serious coding skills, here’s some great news: it doesn’t. Thanks to modern no-code platforms like DeployTokens.com, creating a token is no longer just for developers. Even if you’ve never written a single line of code, you can now create token on Sepolia in just a few simple steps—no technical background needed.
In this guide, we’ll walk you through everything you need to know. We’ll start by breaking down what Sepolia is and why it plays a valuable role in the Ethereum ecosystem. Then, we’ll explore why token creation is booming in 2025 and how everyday users are building tokens for testing, innovation, community engagement, and more.
How to Create Token on Sepolia Without Coding
Ready to launch your own ERC-20 token on Sepolia without writing a single line of code? You’re in the right place. In this section, we’ll walk you through the entire process using DeployTokens, a no-code platform that simplifies token creation across EVM-compatible chains. Best of all? It takes less than 1 minutes.
Step 1: Go to DeployTokens
Step 2: Connect Your Wallet
Step 3: Customize Your Token
Step 4: Deploy & Create Token on Sepolia
Step 1: Go to DeployTokens

Start by visiting DeployTokens. The homepage features a clean, user-friendly dashboard that’s built specifically for no-code token creation. Whether you’re creating on Sepolia or another Ethereum-compatible network, the process is designed to be seamless.
Click on the “Create Token” button to get started.
Step 2: Connect Your Web3 Wallet
To deploy a token, you’ll need a Web3 wallet like MetaMask or WalletConnect.
-
Click on “Connect Wallet.”
-
Choose your preferred wallet.
-
Make sure your wallet is set to the Sepolia Testnet.
If Sepolia isn’t already in your network list, you can manually add it using the following details:
-
Network Name: Sepolia Testnet
-
RPC URL:
https://sepolia.infura.io/v3/(or another RPC provider) -
Chain ID: 11155111
-
Currency Symbol: ETH
-
Block Explorer: https://sepolia.etherscan.io
Once connected and switched to the correct network, you’re ready to move forward.
Step 3: Customize Your Token
Now comes the fun part—bringing your token to life.
You’ll be asked to fill in some basic token details:
-
Token Name: The full name of your token (e.g., “TestToken”)
-
Symbol: A short identifier, typically 3–5 characters (e.g., “TST”)
-
Total Supply: How many tokens you want to create (e.g., 1,000,000)
-
Decimals: Usually set to 18 for ERC-20 tokens, unless you have a specific reason to change it
You’ll also have the option to enable advanced features to tailor your token’s functionality:
| Feature | What It Does |
|---|---|
| Mintable | Lets you generate additional tokens after deployment- great for utility tokens. |
| Burnable | Allows holders or admins to destroy tokens useful for deflationary tokenomics. |
| Pausable | Enables you to pause token transfers temporarily, ideal for updates or security. |
| Ownable | Assigns ownership for future upgrades or admin-level controls |
| Access Control | Provides role-based permissions, perfect for projects with teams or multiple stakeholders |
Pick the features that suit your use case best. You can enable one, several, or none—it’s entirely up to you.
Step 4: Deploy and Create Token on Sepolia
Once everything looks good, it’s time to go live.
-
Review your token details carefully.
-
Make sure your wallet holds some test ETH to cover the deployment gas fee. (You can grab test ETH from a Sepolia faucet if needed.)
-
Click the “Create Token” button.
-
Confirm the transaction in your wallet.
And that’s it. DeployTokens.com will automatically compile and deploy your smart contract to the Sepolia network for you. No coding. No configuration headaches. Just results.
Within moments, your ERC-20 token will be live and viewable on Sepolia Etherscan. You’re now officially a token creator—congrats!
What Next: Verify and Manage Your Token
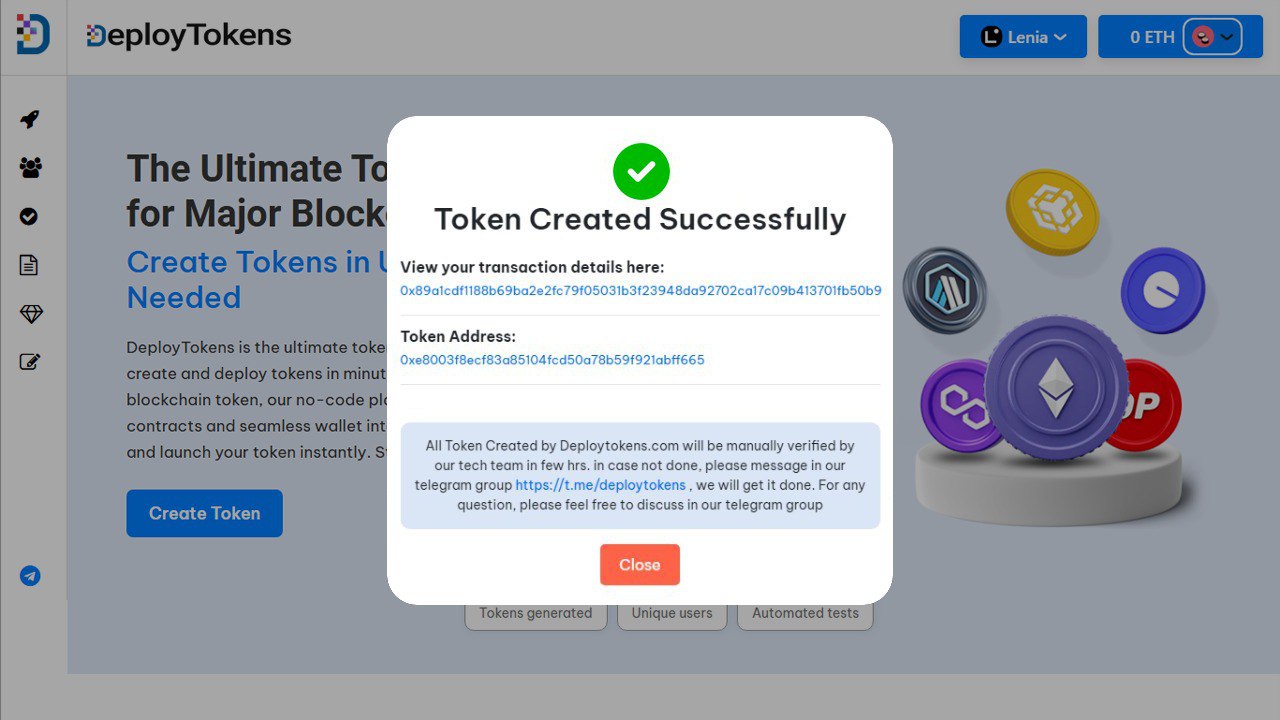
After deploying your token on Sepolia, the next step is verifying and managing it. Thankfully, DeployTokens handles smart contract verification automatically—so your contract is instantly verified on-chain, making the source code publicly visible on SepoliaScan or Etherscan. This builds transparency and trust, especially if you plan to share your token.
You’ll also receive your token’s contract address, which is like its blockchain ID. Keep it handy you’ll use it to monitor activity, share the token, or integrate it into wallets and dApps. To view your token in MetaMask, connect to the Sepolia Testnet and select “Import Token.” Paste in the contract address, and MetaMask will auto-fill the rest. Once added, your token will appear in your wallet.
FAQs: Create Token on Sepolia
Is Sepolia the same as Ethereum mainnet?
No—Sepolia is a testnet that simulates Ethereum without using real ETH. Learn more about Ethereum’s ecosystem in our Ethereum vs. Binance Smart Chain guide.
Can I move my Sepolia token to mainnet?
Not directly. You’ll need to redeploy on mainnet after testing.
Is token creation free on Sepolia?
Yes. DeployTokens is free for testnets; just use Sepolia test ETH from a faucet. Compare with mainnet costs in our Ethereum token creation guide.
Can I change token settings after deployment?
Only if you enabled features like Ownable or Upgradable during setup.
How do I get Sepolia test ETH?
Visit faucet.sepolia.dev to request free test ETH.
Final Thoughts: Launch with Confidence on Sepolia
Creating a token on Sepolia has become incredibly accessible even for those without a technical background. With intuitive no-code platforms like DeployTokens.com, anyone can design, deploy, and test an ERC-20 token in just a few clicks.
Whether you’re exploring tokenomics, running simulations for a future mainnet launch, or simply learning how smart contracts work, Sepolia provides a low-risk, high-value environment to experiment. You don’t need to write code, manage complex infrastructure, or spend real ETH just connect your wallet, define your token, and launch.
If you’re ready to take the first step, create token on Sepolia today and start bringing your ideas to life with ease and confidence.